# Installation Guide with AWS (Advanced)
Step by step journey using AWS EC2 Ubuntu 24.04
For this guide you need basic knowledge with Linux, SSH, Bash
# Getting Started
Hello!
Welcome to Finmars, below you will find guidance of how to Install Everything
We also recommend you to obtain [Finmars ID](https://id-auth.finmars.io/realms/finmars/account)
---
Here is summary of what we will achieve during this tutorial
To complete this guide you will need ****Mac**** or ****Linux****, it will require to use ****Terminal****
- Register AWS account - [Link](https://docs.finmars.com/books/installation-guide-with-aws-advanced/page/register-aws-account)
- Register Domain Name - [Link](https://docs.finmars.com/books/installation-guide-with-aws-advanced/page/register-domain-name)
- Create Virtual Machine (VM) - [Link](https://docs.finmars.com/books/installation-guide-with-aws-advanced/page/create-virtual-machine)
- Install Finmars Platform - [Link](https://docs.finmars.com/books/installation-guide-with-aws-advanced/page/install-finmars-platform)
- Get to know our [User Quick Start](https://docs.finmars.com/books/user-quick-start) guide for next steps
---
If you have some troubles during Installation - reach for any support channel:
- Create a [Github Issue](https://github.com/finmars-platform/finmars-core/issues/new)
- Join our [Discord](https://discord.gg/dJFxjwKQet) Server
- Contact us at
# Register AWS Account
Here is a simple, step-by-step guide to make an AWS account:
1. ****Open your web browser****
(for example: Chrome, Firefox, or Edge).
2. ****Go to the AWS website****
Type [aws.amazon.com](https://aws.amazon.com/) in the address bar and press Enter.
3. ****Start the sign-up****
Click the ****“Create an AWS Account”**** button at the top right.
4. ****Enter your email and name****
- In the first box, type your email address.
- In the box below, type a name for your account (you can use your name or any name you like).
5. ****Choose a password****
- Make a password you can remember.
- Re-type it to confirm.
6. ****Fill in your contact details****
- Select ****“Professional”**** or ****“Personal”**** account.
- Type your full name, phone number, and address.
- Click ****“Continue”****.
7. ****Add payment information****
- AWS needs a credit or debit card to verify you.
- Type your card number, month/year, and name on card.
- Click ****“Verify and Add”****.
8. ****Confirm your phone number****
- Choose your country code and type your phone number.
- Click ****“Send SMS”****.
- You’ll get a text with a code. Type that code into the box.
9. ****Pick a support plan****
- You can choose the ****Free Tier**** plan (it has no monthly cost).
- Click ****“Continue”****.
10. ****Finish and sign in****
- After a few minutes, AWS will finish setting up.
- Click ****“Sign In to the Console”****.
- Enter your email and password again.
You now have an AWS account! 🎉
You can log into the AWS Console and start using services.
Go to next step: [Register Domain Name](https://docs.finmars.com/books/installation-guide-with-aws-advanced/page/register-domain-name)
# Register Domain Name
You can register a domain right inside AWS using Route 53. Here’s how, in simple steps:
1. ****Sign in to AWS Console****
Go to [https://console.aws.amazon.com](https://console.aws.amazon.com) and log in.
2. ****Open Route 53****
In the search bar at top, type “Route 53” and click the Route 53 service.
3. ****Go to Registered Domains****
In the left menu, click ****“Registered domains.”****
4. ****Start a new registration****
Click the ****“Register domain”**** button.
5. ****Search your name****
- In the box, type the name you want (for example, `mywebsite.com`).
- Click ****“Check”****.
6. ****Choose an available name****
- If it’s free, click ****“Add to cart.”****
- If not, try a different name or ending (like `.net`).
7. ****View your cart****
Click ****“Review”**** or go to the cart icon.
8. ****Enter contact details****
- AWS needs your name, address, email, and phone.
- If you want privacy, check ****“Enable privacy protection.”****
- Click ****“Continue.”****
9. ****Verify and purchase****
- Review the price and years (1 year, 2 years, etc.).
- Click ****“Complete order.”****
10. ****Wait for confirmation****
AWS will send you an email when your domain is ready. It usually takes a few minutes.
11. ****Create a Hosted Zone**** (to use your domain)
- Back in Route 53, click ****“Hosted zones.”****
- Click ****“Create hosted zone.”****
- Type your new domain name and click ****“Create.”****
12. ****Point your domain to AWS****
- In your hosted zone, copy the “Name servers” listed.
- If AWS registered your domain, this is set automatically.
- If you used another registrar, paste these name servers into their DNS settings.
Now your domain is registered and ready in AWS! 🎉
You can add records (A, CNAME, MX) in your hosted zone to make your finmars work. See it in "[Create Virtual Machine](https://docs.finmars.com/books/installation-guide-with-aws-advanced/page/create-virtual-machine)" Page
# Create Virtual Machine
Sure! Let’s make your EC2 and name it ****finmars-platform-vm****. Follow these steps:
1. ****Sign in to AWS****
- Open your browser and go to [console.aws.amazon.com](https://console.aws.amazon.com).
- Enter your AWS email and password.
2. ****Open EC2****
- At the top, click the search box and type ****EC2****.
- Click ****EC2**** under “Services.”
3. ****Launch a new instance****
- Click the blue ****Launch instances**** button.
4. ****Name your instance****
- In the ****Name tag**** box, type ****finmars-platform-vm****.
5. ****Choose AMI (Ubuntu 24.04)****
- Scroll or search for ****Ubuntu Server 24.04 LTS****.
- Pick 64-bit (x86) (should be default)
- Click ****Select****.
6. ****Select instance type (2 vCPU, 8 GiB RAM)****
- Find and click ****t3.large**** (it has 2 vCPU and 8 GiB).
7. ****Create or select key pair****
- Choose ****Create a new key pair****.
- Name it (e.g. ****finmars-platform-vm-key****).
- Click ****Create Key Pair**** and save the `.pem` file safely. - Do not Lose this file, if you lose it, you will not able to connect to your VM again
8. ****Configure instance details****
- Under ****Subnet****, pick one (any is fine).
- Subnet - Default is ok (or do accordingly to your network configuration)
- Turn ****Auto-assign Public IP**** to ****Enable****. (If already enabled - OK)
- Turn on checkbox ****Allow SSH traffic from****
- Turn on checkbox ****Allow HTTPS traffic from the internet****
- Turn on checkbox ****Allow HTTP traffic from the internet****
- Leave the rest as default.
- Click ****Next: Add Storage****.
9. ****Add storage (256 GiB)****
- Change the size from ****8**** to ****256**** in the root volume row.
- Keep the volume type as ****gp3**** or ****gp2****.
10. ****Review and launch****
- Check all your settings.
- Click ****Launch Instance****.
11. ****Wait for your VM****
- Click ****View Instances****.
- Wait until its status is ****running**** and checks pass.
12. ****Connect to your VM****
- Select the instance named ****finmars-platform-vm****.
- Click ****Connect****.
- Follow the instructions, for example:
```
# Move your Download key file to secure folder (~/Downloads not recommended)
# if this first connect
chmod 400 "finmars-platform-vm.pem"
ssh -i ./finmars-platform-vm.pem ubuntu@
# if this first connect
# Are you sure you want to continue connecting (yes/no/[fingerprint])? yes
# yes
```
Your EC2 named ****finmars-platform-vm**** is ready! 🎉
---
Now you need to assign your Public IP of your freshly created VM to subdomain of your domain.
1. ****Sign in to AWS****
Go to [console.aws.amazon.com](https://console.aws.amazon.com) and log in.
2. ****Open Route 53****
In the top search bar, type ****Route 53****, then click the service.
3. ****Go to Hosted Zones****
In the left menu, click ****“Hosted zones.”****
4. ****Select your domain****
Find and click the zone named your\_domain.tld (for example, `example.com`).
5. ****Create the first record****
- Click ****“Create record.”****
- In ****Record name****, type `finmars` (so full name is `finmars.example.com`). - It is Record for Actual Finmars Platform
- For ****Record type****, choose ****A – IPv4 address****.
- In ****Value****, type your EC2 public IP (for example, `203.0.113.25`). You can find it in EC2 details
- Leave ****TTL**** as default (300).
- Click ****“Create records.”****
6. ****Create the second record****
- Click ****“Create record”**** again.
- In ****Record name****, type `finmars-auth`(so full name is `finmars-auth.example.com`). - It is Record for Single-Sign-On (SSO) Finmars
- For ****Record type****, choose ****A – IPv4 address****.
- In ****Value****, type the same EC2 public IP.
- Click ****“Create records.”****
7. ****Wait a few minutes****
DNS needs a little time to spread out. After about 5 minutes, both
- `finmars.example.com`
- `finmars-auth.example.com`
will go to your VM’s public IP.
That’s it! Now both sub-domains point to your ****finmars-platform-vm**** server.
You can verify it by run following command in Terminal (On Mac or Linux)
`dig finmars.example.com`
`dig finmars-auth.example.com`
Output should be like:
```bash
; <<>> DiG 9.10.6 <<>> finmars.example.com
;; global options: +cmd
;; Got answer:
;; ->>HEADER<<- opcode: QUERY, status: NOERROR, id: 39082
;; flags: qr rd ra; QUERY: 1, ANSWER: 1, AUTHORITY: 0, ADDITIONAL: 1
;; OPT PSEUDOSECTION:
; EDNS: version: 0, flags:; udp: 4096
;; QUESTION SECTION:
;finmars-platform-vm.finmars.com. IN A
;; ANSWER SECTION:
finmars.example.com. 300 IN A 203.0.113.25
;; Query time: 12 msec
;; SERVER: 192.168.178.1#53(192.168.178.1)
;; WHEN: Wed Jun 11 20:10:02 CEST 2025
;; MSG SIZE rcvd: 76
```
---
Now go to next step: [Install Finmars Platform](https://docs.finmars.com/books/installation-guide-with-aws-advanced/page/install-finmars-platform)
# Install Finmars Platform
#### Here is a Full Guide to install Finmars on your Ubuntu VM:
Complete time of full installation is less than 30 minutes, by the end of it you will get a Finmars Platform Installed on your Linux Server
Prerequisite: You need to open your Terminal and navigate to the directory that contains your key-pair (.pem file) that was created in ["Create VM" step of installation guide](https://docs.finmars.com/books/installation-guide-with-aws-advanced/page/create-virtual-machine)
1. **Connect to your VM**
Example:
```
# if this first connect
chmod 400 finmars-platform-vm.pem
ssh -i ./finmars-platform-vm.pem ubuntu@
# if this first connect
# Are you sure you want to continue connecting (yes/no/[fingerprint])? yes
# yes
```
2. **Install dependencies**
```bash
sudo apt update
sudo apt install -y ca-certificates curl gnupg lsb-release ntp make git
wget -qO- https://get.docker.com/ | sh
sudo usermod -aG docker $USER
newgrp docker
```
To check if Docker installed:
`docker version`
Should output:
```
Client: Docker Engine - Community
Version: 28.2.2
...
```
3. **Create the finmars folder**
```bash
sudo mkdir -p /opt/finmars
sudo chown $USER:$USER /opt/finmars
```
4. **Clone the Finmars Platform Community Edition repository from Github**
See [https://github.com/finmars-platform/finmars-community-edition](https://github.com/finmars-platform/finmars-community-edition) repository
```bash
cd /opt/finmars
git clone https://github.com/finmars-platform/finmars-community-edition.git .
```
5. **Install Finmars Community Edition**
```f#
make install
```
You should see something like this as successful result[You should see something like this as successful result: ](https://docs.finmars.com/uploads/images/gallery/2025-06/screenshot-2025-06-11-at-20-37-55.png)[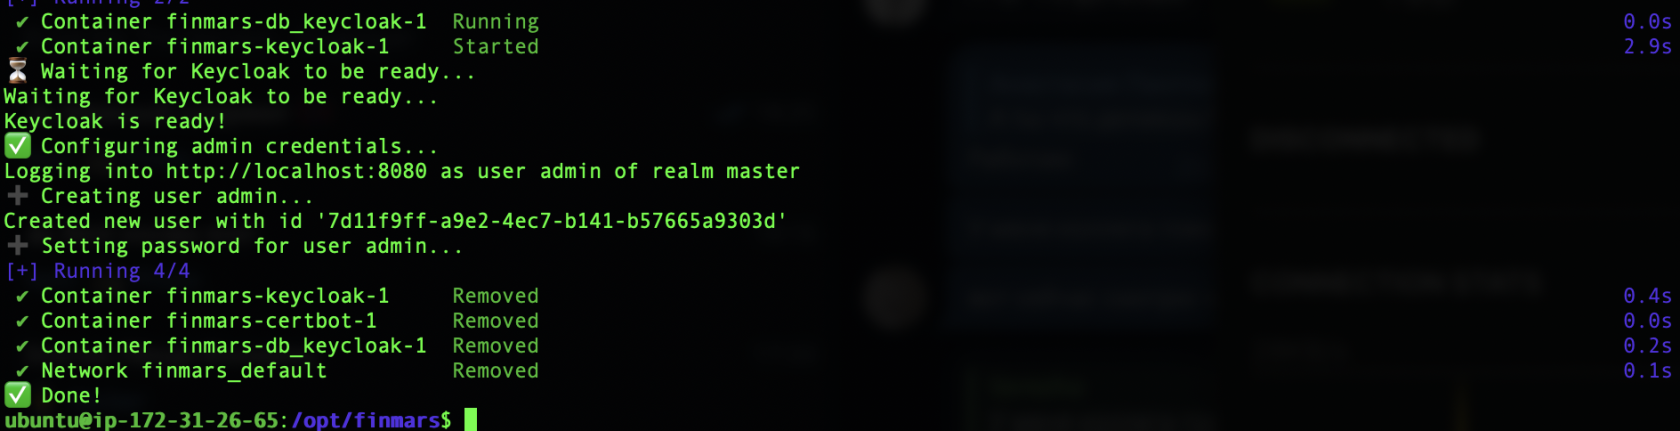](https://docs.finmars.com/uploads/images/gallery/2025-06/screenshot-2025-06-11-at-20-39-07.png)
6. **Start all services**
```bash
make up
```
To Verify that is everything running
`docker ps`
And you should see something like:
[](https://docs.finmars.com/uploads/images/gallery/2025-06/scaled-1680-/screenshot-2025-06-11-at-21-08-45.png)
It means all the Docker Containers are running.
---
When all is done, you can Open Web Browser at **finmars.example.com** and you should see **Finmars Welcome Page**
[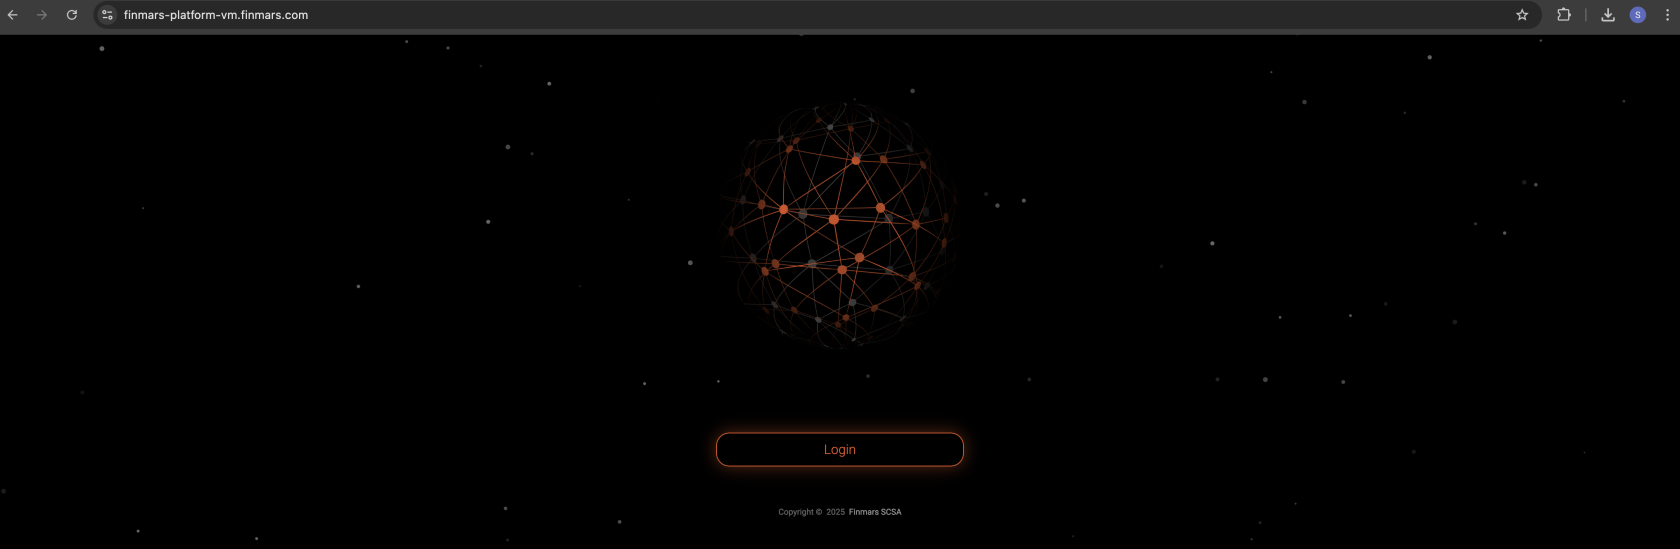](https://docs.finmars.com/uploads/images/gallery/2025-06/screenshot-2025-06-11-at-21-11-43.png)
After you press **Login** you will be redirected to **Finmars Single-Sign-On** (SSO) to **finmars-auth.example.com**
[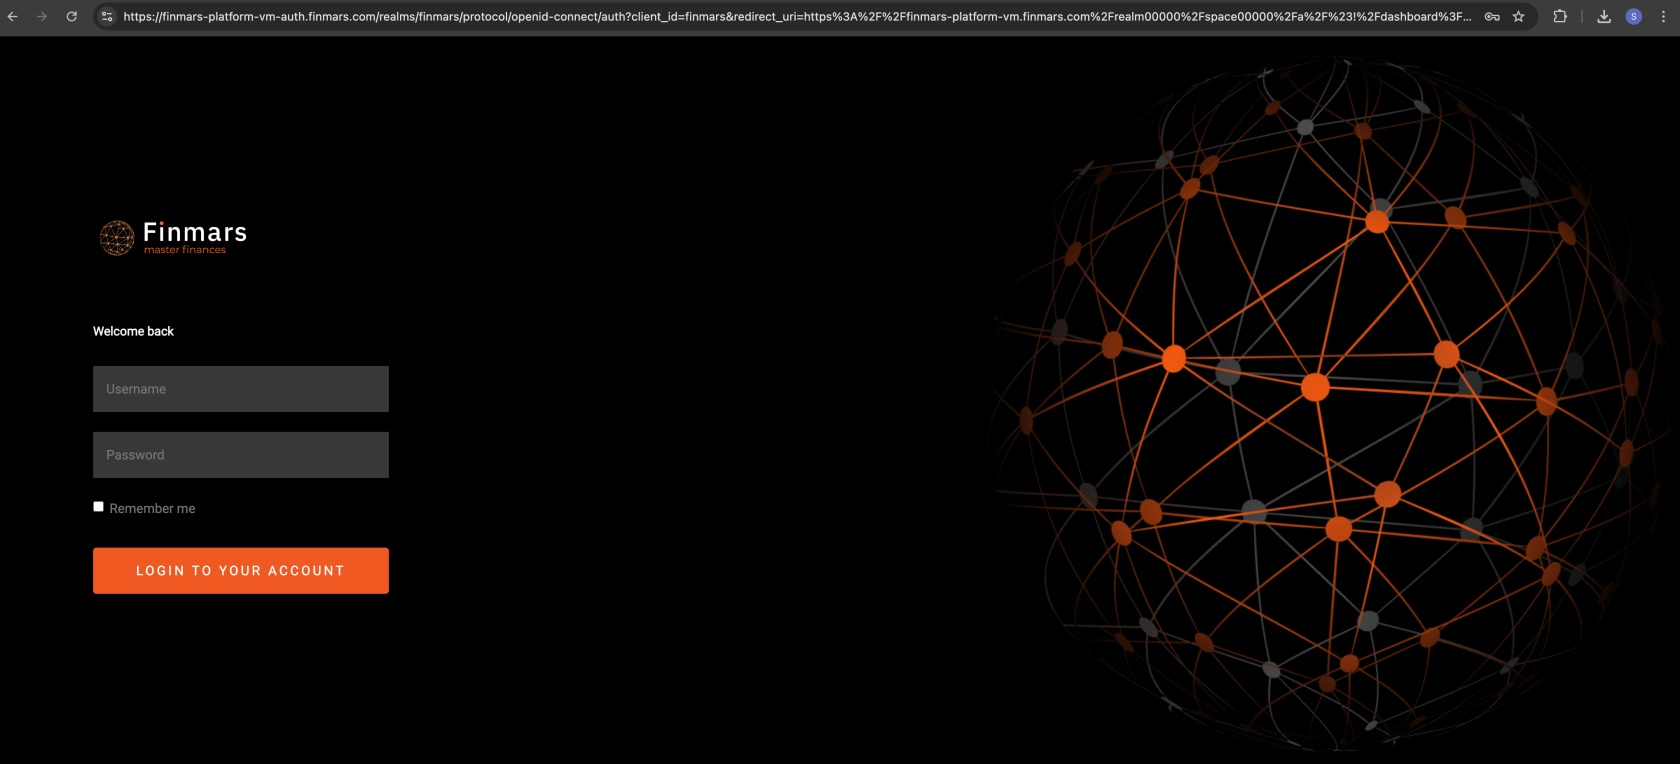](https://docs.finmars.com/uploads/images/gallery/2025-06/scaled-1680-/screenshot-2025-06-11-at-21-18-15.png)
Login with your Credentials that you provided in 6) **Configure env** step. It should be yours `ADMIN_USERNAME` and `ADMIN_PASSWORD`
After Login you will be redirected to **Dashboard page** in **Finmars Platform**
[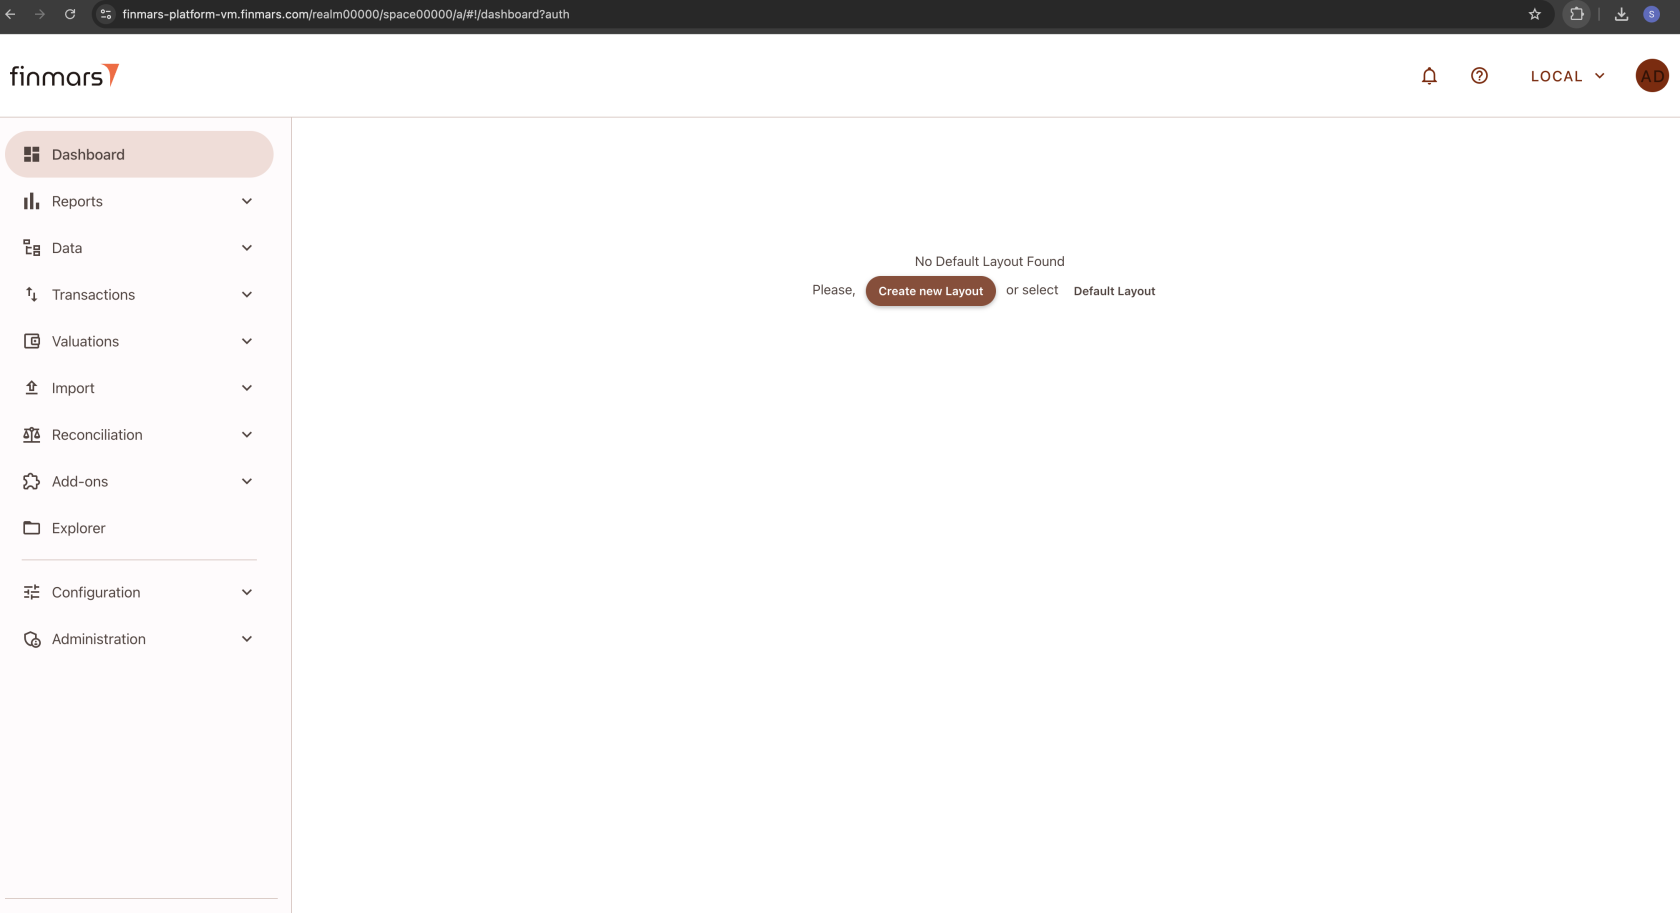](https://docs.finmars.com/uploads/images/gallery/2025-06/screenshot-2025-06-11-at-21-52-33.png)
Congratulations you finished your **Finmars Platform** Installation **Successfully**! Well Done!
Get to know our [User Quick Start](https://docs.finmars.com/books/user-quick-start) guide for next steps
If you have some troubles during Installation - reach for any support channel:
- Create a [Github Issue](https://github.com/finmars-platform/finmars-core/issues/new)
- Join our [Discord](https://discord.gg/dJFxjwKQet) Server
- Contact us at