Installation Guide with AWS (Advanced)
Step by step journey using AWS EC2 Ubuntu 24.04
For this guide you need basic knowledge with Linux, SSH, Bash
- Getting Started
- Register AWS Account
- Register Domain Name
- Create Virtual Machine
- Install Finmars Platform
Getting Started
Hello!
Welcome to Finmars, below you will find guidance of how to Install Everything
We also recommend you to obtain Finmars ID
Here is summary of what we will achieve during this tutorial
To complete this guide you will need Mac or Linux, it will require to use Terminal
- Register AWS account - Link
- Register Domain Name - Link
- Create Virtual Machine (VM) - Link
- Install Finmars Platform - Link
- Get to know our User Quick Start guide for next steps
If you have some troubles during Installation - reach for any support channel:
- Create a Github Issue
- Join our Discord Server
- Contact us at support@finmars.com
Register AWS Account
Here is a simple, step-by-step guide to make an AWS account:
- Open your web browser
(for example: Chrome, Firefox, or Edge). - Go to the AWS website
Type aws.amazon.com in the address bar and press Enter. - Start the sign-up
Click the “Create an AWS Account” button at the top right. - Enter your email and name
- In the first box, type your email address.
- In the box below, type a name for your account (you can use your name or any name you like).
- Choose a password
- Make a password you can remember.
- Re-type it to confirm.
- Fill in your contact details
- Select “Professional” or “Personal” account.
- Type your full name, phone number, and address.
- Click “Continue”.
- Add payment information
- AWS needs a credit or debit card to verify you.
- Type your card number, month/year, and name on card.
- Click “Verify and Add”.
- Confirm your phone number
- Choose your country code and type your phone number.
- Click “Send SMS”.
- You’ll get a text with a code. Type that code into the box.
- Pick a support plan
- You can choose the Free Tier plan (it has no monthly cost).
- Click “Continue”.
- Finish and sign in
- After a few minutes, AWS will finish setting up.
- Click “Sign In to the Console”.
- Enter your email and password again.
You now have an AWS account! 🎉
You can log into the AWS Console and start using services.
Go to next step: Register Domain Name
Register Domain Name
You can register a domain right inside AWS using Route 53. Here’s how, in simple steps:
- Sign in to AWS Console
Go to https://console.aws.amazon.com and log in. - Open Route 53
In the search bar at top, type “Route 53” and click the Route 53 service. - Go to Registered Domains
In the left menu, click “Registered domains.” - Start a new registration
Click the “Register domain” button. - Search your name
- In the box, type the name you want (for example,
mywebsite.com). - Click “Check”.
- In the box, type the name you want (for example,
- Choose an available name
- If it’s free, click “Add to cart.”
- If not, try a different name or ending (like
.net).
- View your cart
Click “Review” or go to the cart icon. - Enter contact details
- AWS needs your name, address, email, and phone.
- If you want privacy, check “Enable privacy protection.”
- Click “Continue.”
- Verify and purchase
- Review the price and years (1 year, 2 years, etc.).
- Click “Complete order.”
- Wait for confirmation
AWS will send you an email when your domain is ready. It usually takes a few minutes. - Create a Hosted Zone (to use your domain)
- Back in Route 53, click “Hosted zones.”
- Click “Create hosted zone.”
- Type your new domain name and click “Create.”
- Point your domain to AWS
- In your hosted zone, copy the “Name servers” listed.
- If AWS registered your domain, this is set automatically.
- If you used another registrar, paste these name servers into their DNS settings.
Now your domain is registered and ready in AWS! 🎉
You can add records (A, CNAME, MX) in your hosted zone to make your finmars work. See it in "Create Virtual Machine" Page
Create Virtual Machine
Sure! Let’s make your EC2 and name it finmars-platform-vm. Follow these steps:
- Sign in to AWS
- Open your browser and go to console.aws.amazon.com.
- Enter your AWS email and password.
- Open EC2
- At the top, click the search box and type EC2.
- Click EC2 under “Services.”
- Launch a new instance
- Click the blue Launch instances button.
- Name your instance
- In the Name tag box, type finmars-platform-vm.
- Choose AMI (Ubuntu 24.04)
- Scroll or search for Ubuntu Server 24.04 LTS.
- Pick 64-bit (x86) (should be default)
- Click Select.
- Select instance type (2 vCPU, 8 GiB RAM)
- Find and click t3.large (it has 2 vCPU and 8 GiB).
- Create or select key pair
- Choose Create a new key pair.
- Name it (e.g. finmars-platform-vm-key).
- Click Create Key Pair and save the
.pemfile safely. - Do not Lose this file, if you lose it, you will not able to connect to your VM again
- Configure instance details
- Under Subnet, pick one (any is fine).
- Subnet - Default is ok (or do accordingly to your network configuration)
- Turn Auto-assign Public IP to Enable. (If already enabled - OK)
- Turn on checkbox Allow SSH traffic from
- Turn on checkbox Allow HTTPS traffic from the internet
- Turn on checkbox Allow HTTP traffic from the internet
- Leave the rest as default.
- Click Next: Add Storage.
- Add storage (256 GiB)
- Change the size from 8 to 256 in the root volume row.
- Keep the volume type as gp3 or gp2.
- Review and launch
- Check all your settings.
- Click Launch Instance.
- Wait for your VM
- Click View Instances.
- Wait until its status is running and checks pass.
- Connect to your VM
- Select the instance named finmars-platform-vm.
- Click Connect.
- Follow the instructions, for example:
# Move your Download key file to secure folder (~/Downloads not recommended)

# if this first connect
chmod 400 "finmars-platform-vm.pem"
ssh -i ./finmars-platform-vm.pem ubuntu@<Public-IP>


# if this first connect
# Are you sure you want to continue connecting (yes/no/[fingerprint])? yes
# yes
Your EC2 named finmars-platform-vm is ready! 🎉
Now you need to assign your Public IP of your freshly created VM to subdomain of your domain.
- Sign in to AWS
Go to console.aws.amazon.com and log in. - Open Route 53
In the top search bar, type Route 53, then click the service. - Go to Hosted Zones
In the left menu, click “Hosted zones.” - Select your domain
Find and click the zone named your_domain.tld (for example,example.com). - Create the first record
- Click “Create record.”
- In Record name, type
finmars(so full name isfinmars.example.com). - It is Record for Actual Finmars Platform - For Record type, choose A – IPv4 address.
- In Value, type your EC2 public IP (for example,
203.0.113.25). You can find it in EC2 details - Leave TTL as default (300).
- Click “Create records.”
- Create the second record
- Click “Create record” again.
- In Record name, type
finmars-auth(so full name isfinmars-auth.example.com). - It is Record for Single-Sign-On (SSO) Finmars - For Record type, choose A – IPv4 address.
- In Value, type the same EC2 public IP.
- Click “Create records.”
- Wait a few minutes
DNS needs a little time to spread out. After about 5 minutes, bothfinmars.example.comfinmars-auth.example.com
will go to your VM’s public IP.
That’s it! Now both sub-domains point to your finmars-platform-vm server.
You can verify it by run following command in Terminal (On Mac or Linux)dig finmars.example.comdig finmars-auth.example.com
Output should be like:
; <<>> DiG 9.10.6 <<>> finmars.example.com
;; global options: +cmd
;; Got answer:
;; ->>HEADER<<- opcode: QUERY, status: NOERROR, id: 39082
;; flags: qr rd ra; QUERY: 1, ANSWER: 1, AUTHORITY: 0, ADDITIONAL: 1

;; OPT PSEUDOSECTION:
; EDNS: version: 0, flags:; udp: 4096
;; QUESTION SECTION:
;finmars-platform-vm.finmars.com. IN	A

;; ANSWER SECTION:
finmars.example.com. 300 IN	A	203.0.113.25

;; Query time: 12 msec
;; SERVER: 192.168.178.1#53(192.168.178.1)
;; WHEN: Wed Jun 11 20:10:02 CEST 2025
;; MSG SIZE  rcvd: 76
Now go to next step: Install Finmars Platform
Install Finmars Platform
Here is a Full Guide to install Finmars on your Ubuntu VM:
Complete time of full installation is less than 30 minutes, by the end of it you will get a Finmars Platform Installed on your Linux Server
Prerequisite: You need to open your Terminal and navigate to the directory that contains your key-pair (.pem file) that was created in "Create VM" step of installation guide
- Connect to your VM
Example:# if this first connect chmod 400 finmars-platform-vm.pem ssh -i ./finmars-platform-vm.pem ubuntu@<Public-IP> # if this first connect # Are you sure you want to continue connecting (yes/no/[fingerprint])? yes # yes - Install dependencies
To check if Docker installed:sudo apt update sudo apt install -y ca-certificates curl gnupg lsb-release ntp make git wget -qO- https://get.docker.com/ | sh sudo usermod -aG docker $USER newgrp dockerdocker version
Should output:Client: Docker Engine - Community Version: 28.2.2 ... - Create the finmars folder
sudo mkdir -p /opt/finmars sudo chown $USER:$USER /opt/finmars - Clone the Finmars Platform Community Edition repository from Github
See https://github.com/finmars-platform/finmars-community-edition repositorycd /opt/finmars git clone https://github.com/finmars-platform/finmars-community-edition.git . - Install Finmars Community Edition
You should see something like this as successful resultYou should see something like this as successful result:make install
- Start all services
make up
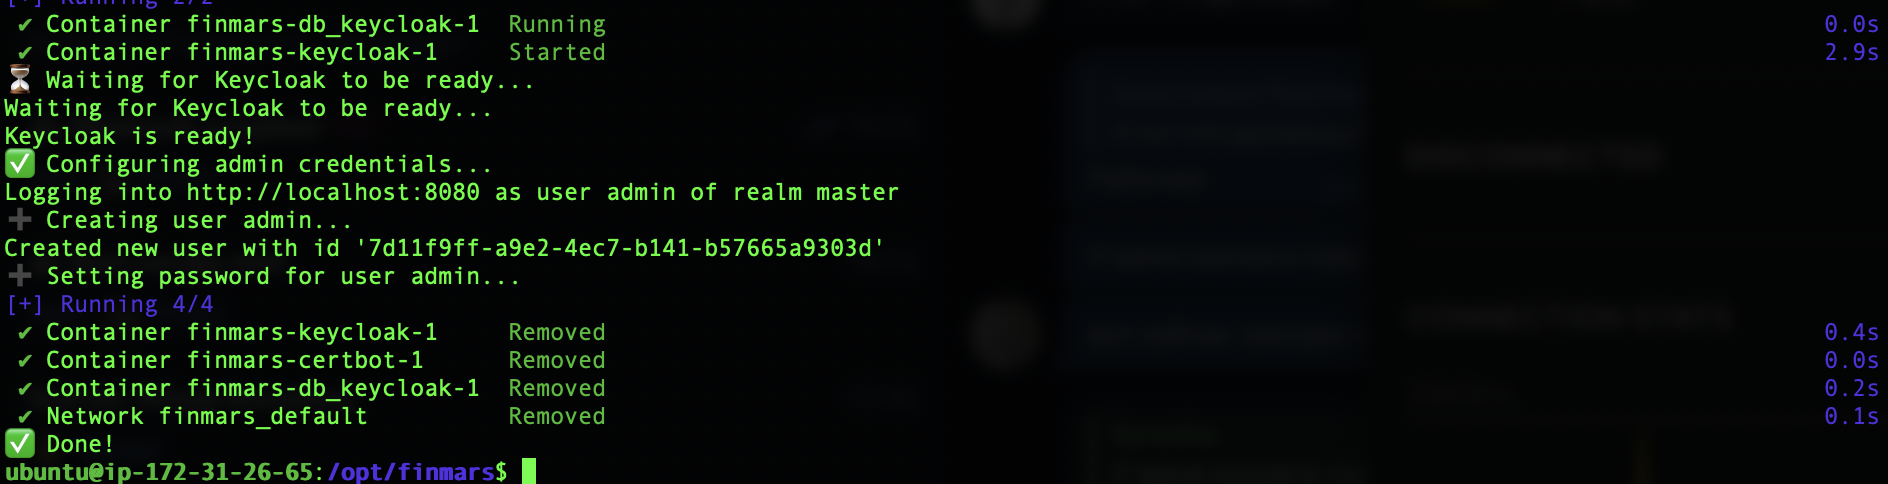
To Verify that is everything running
docker ps
And you should see something like:

It means all the Docker Containers are running.
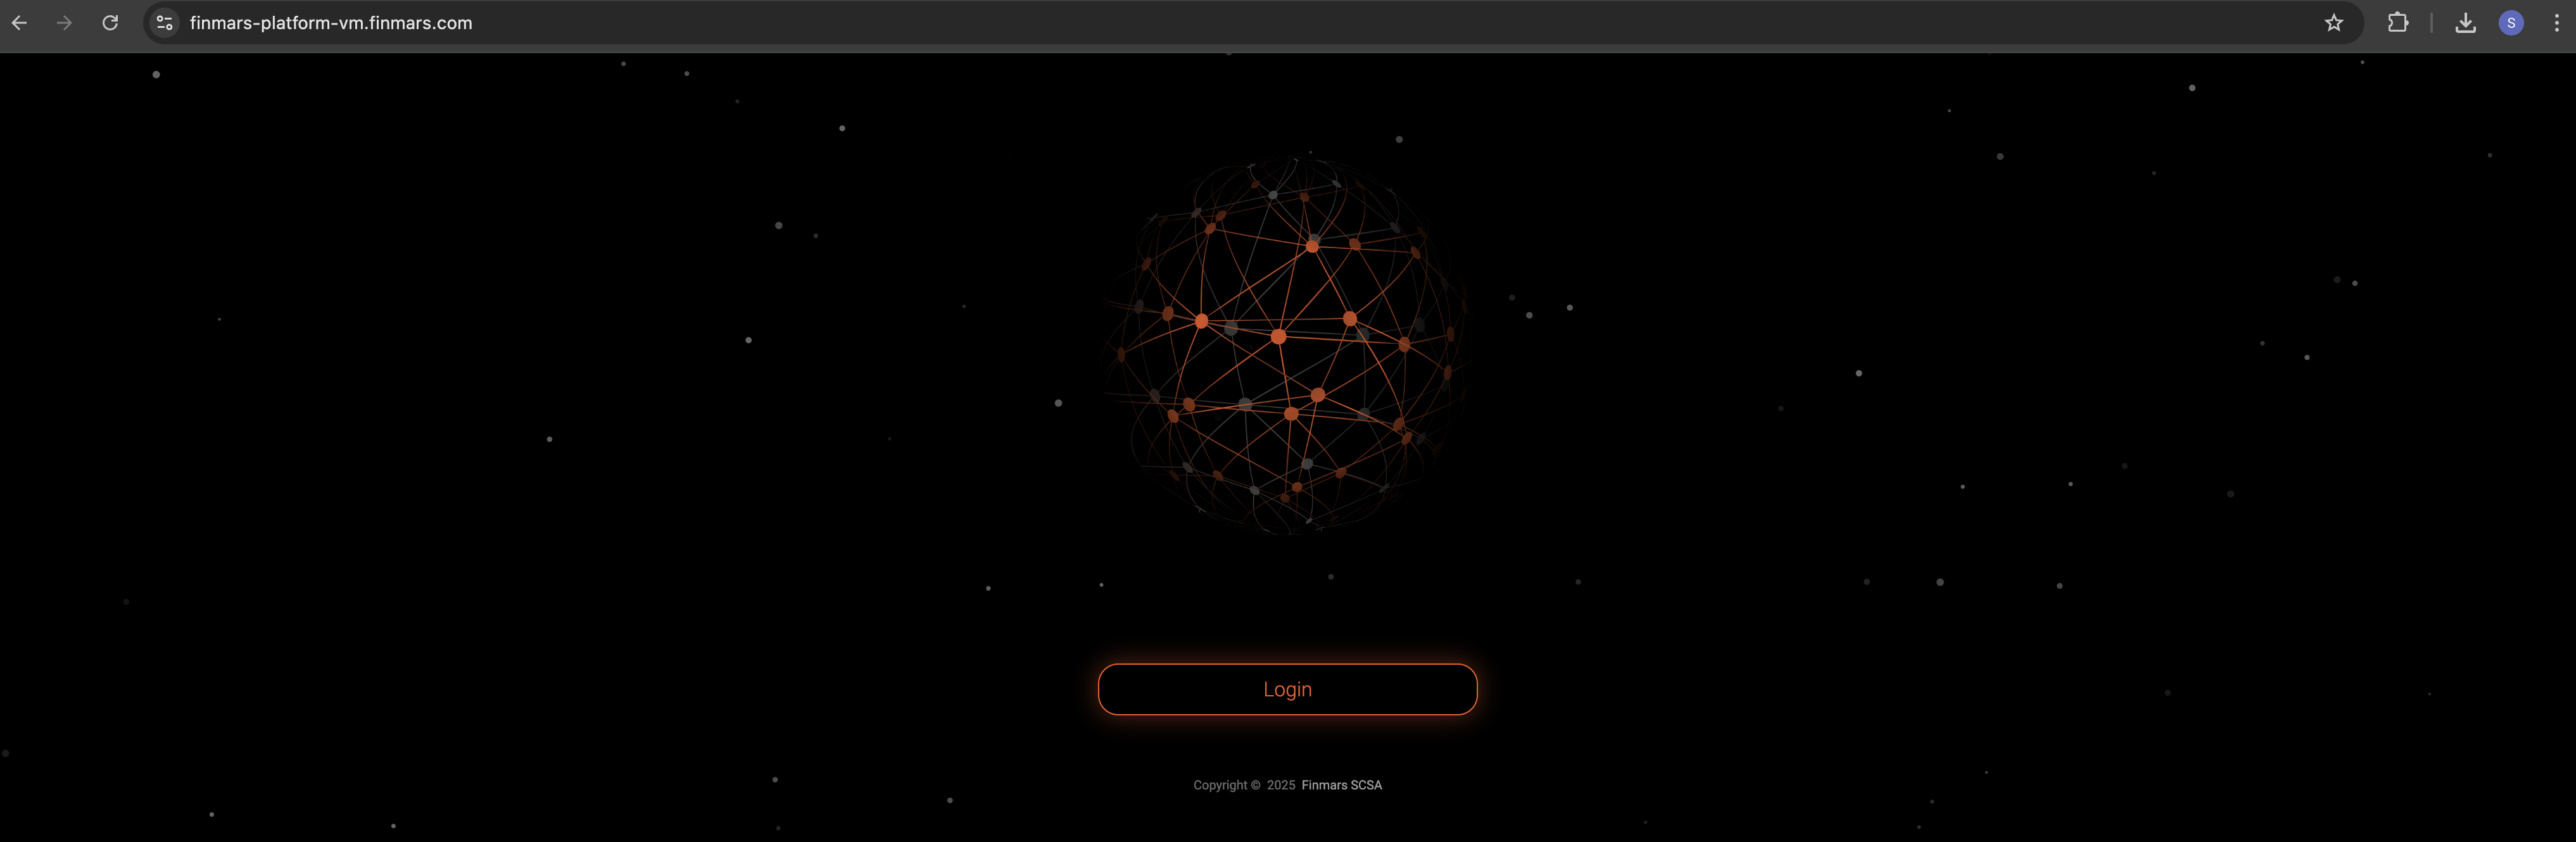
When all is done, you can Open Web Browser at finmars.example.com and you should see Finmars Welcome Page
After you press Login you will be redirected to Finmars Single-Sign-On (SSO) to finmars-auth.example.com
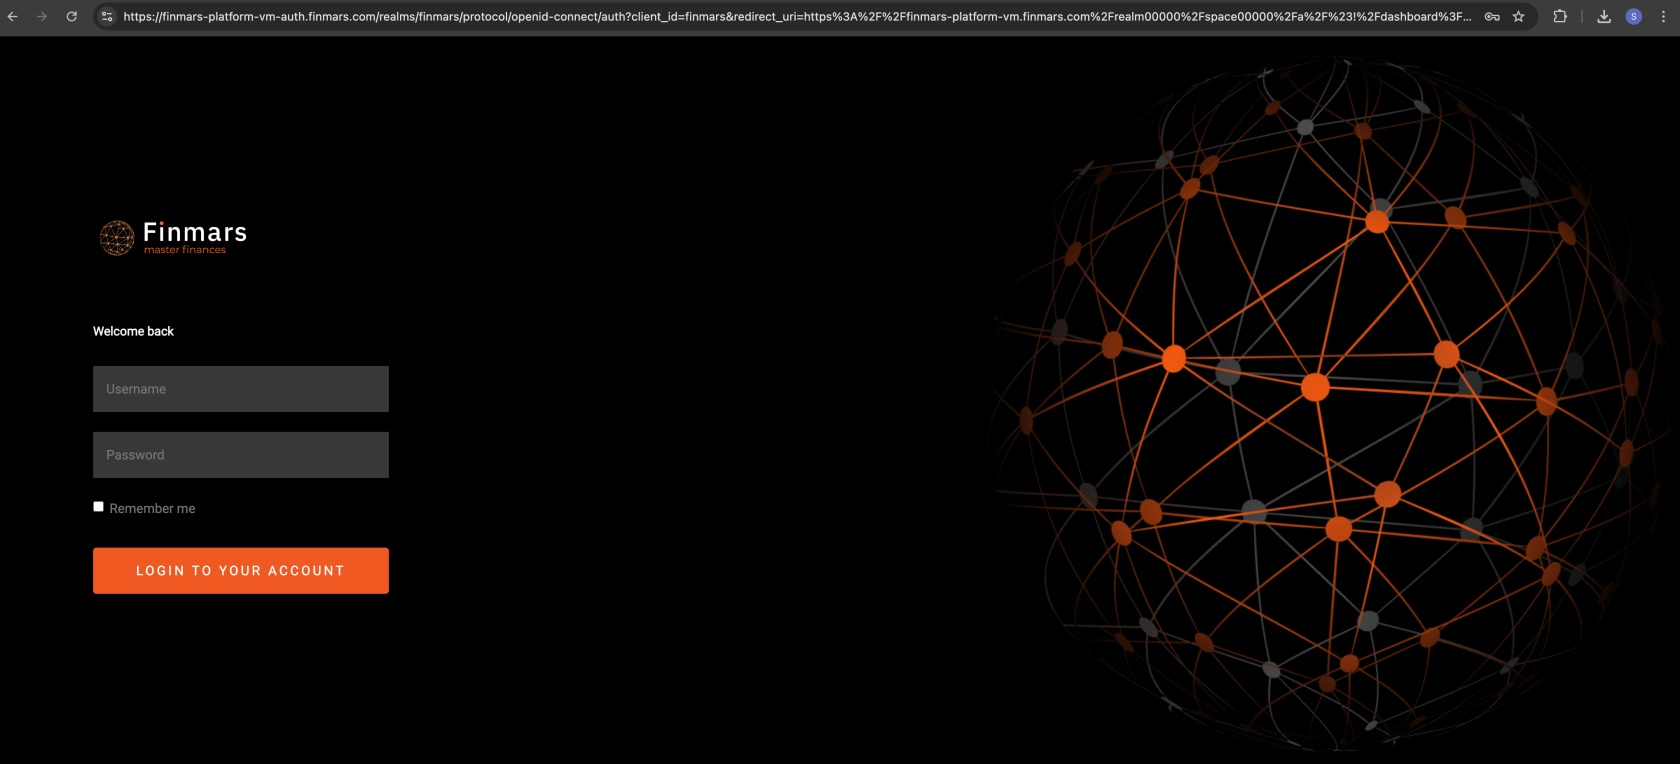
Login with your Credentials that you provided in 6) Configure env step. It should be yours ADMIN_USERNAME and ADMIN_PASSWORD
After Login you will be redirected to Dashboard page in Finmars Platform
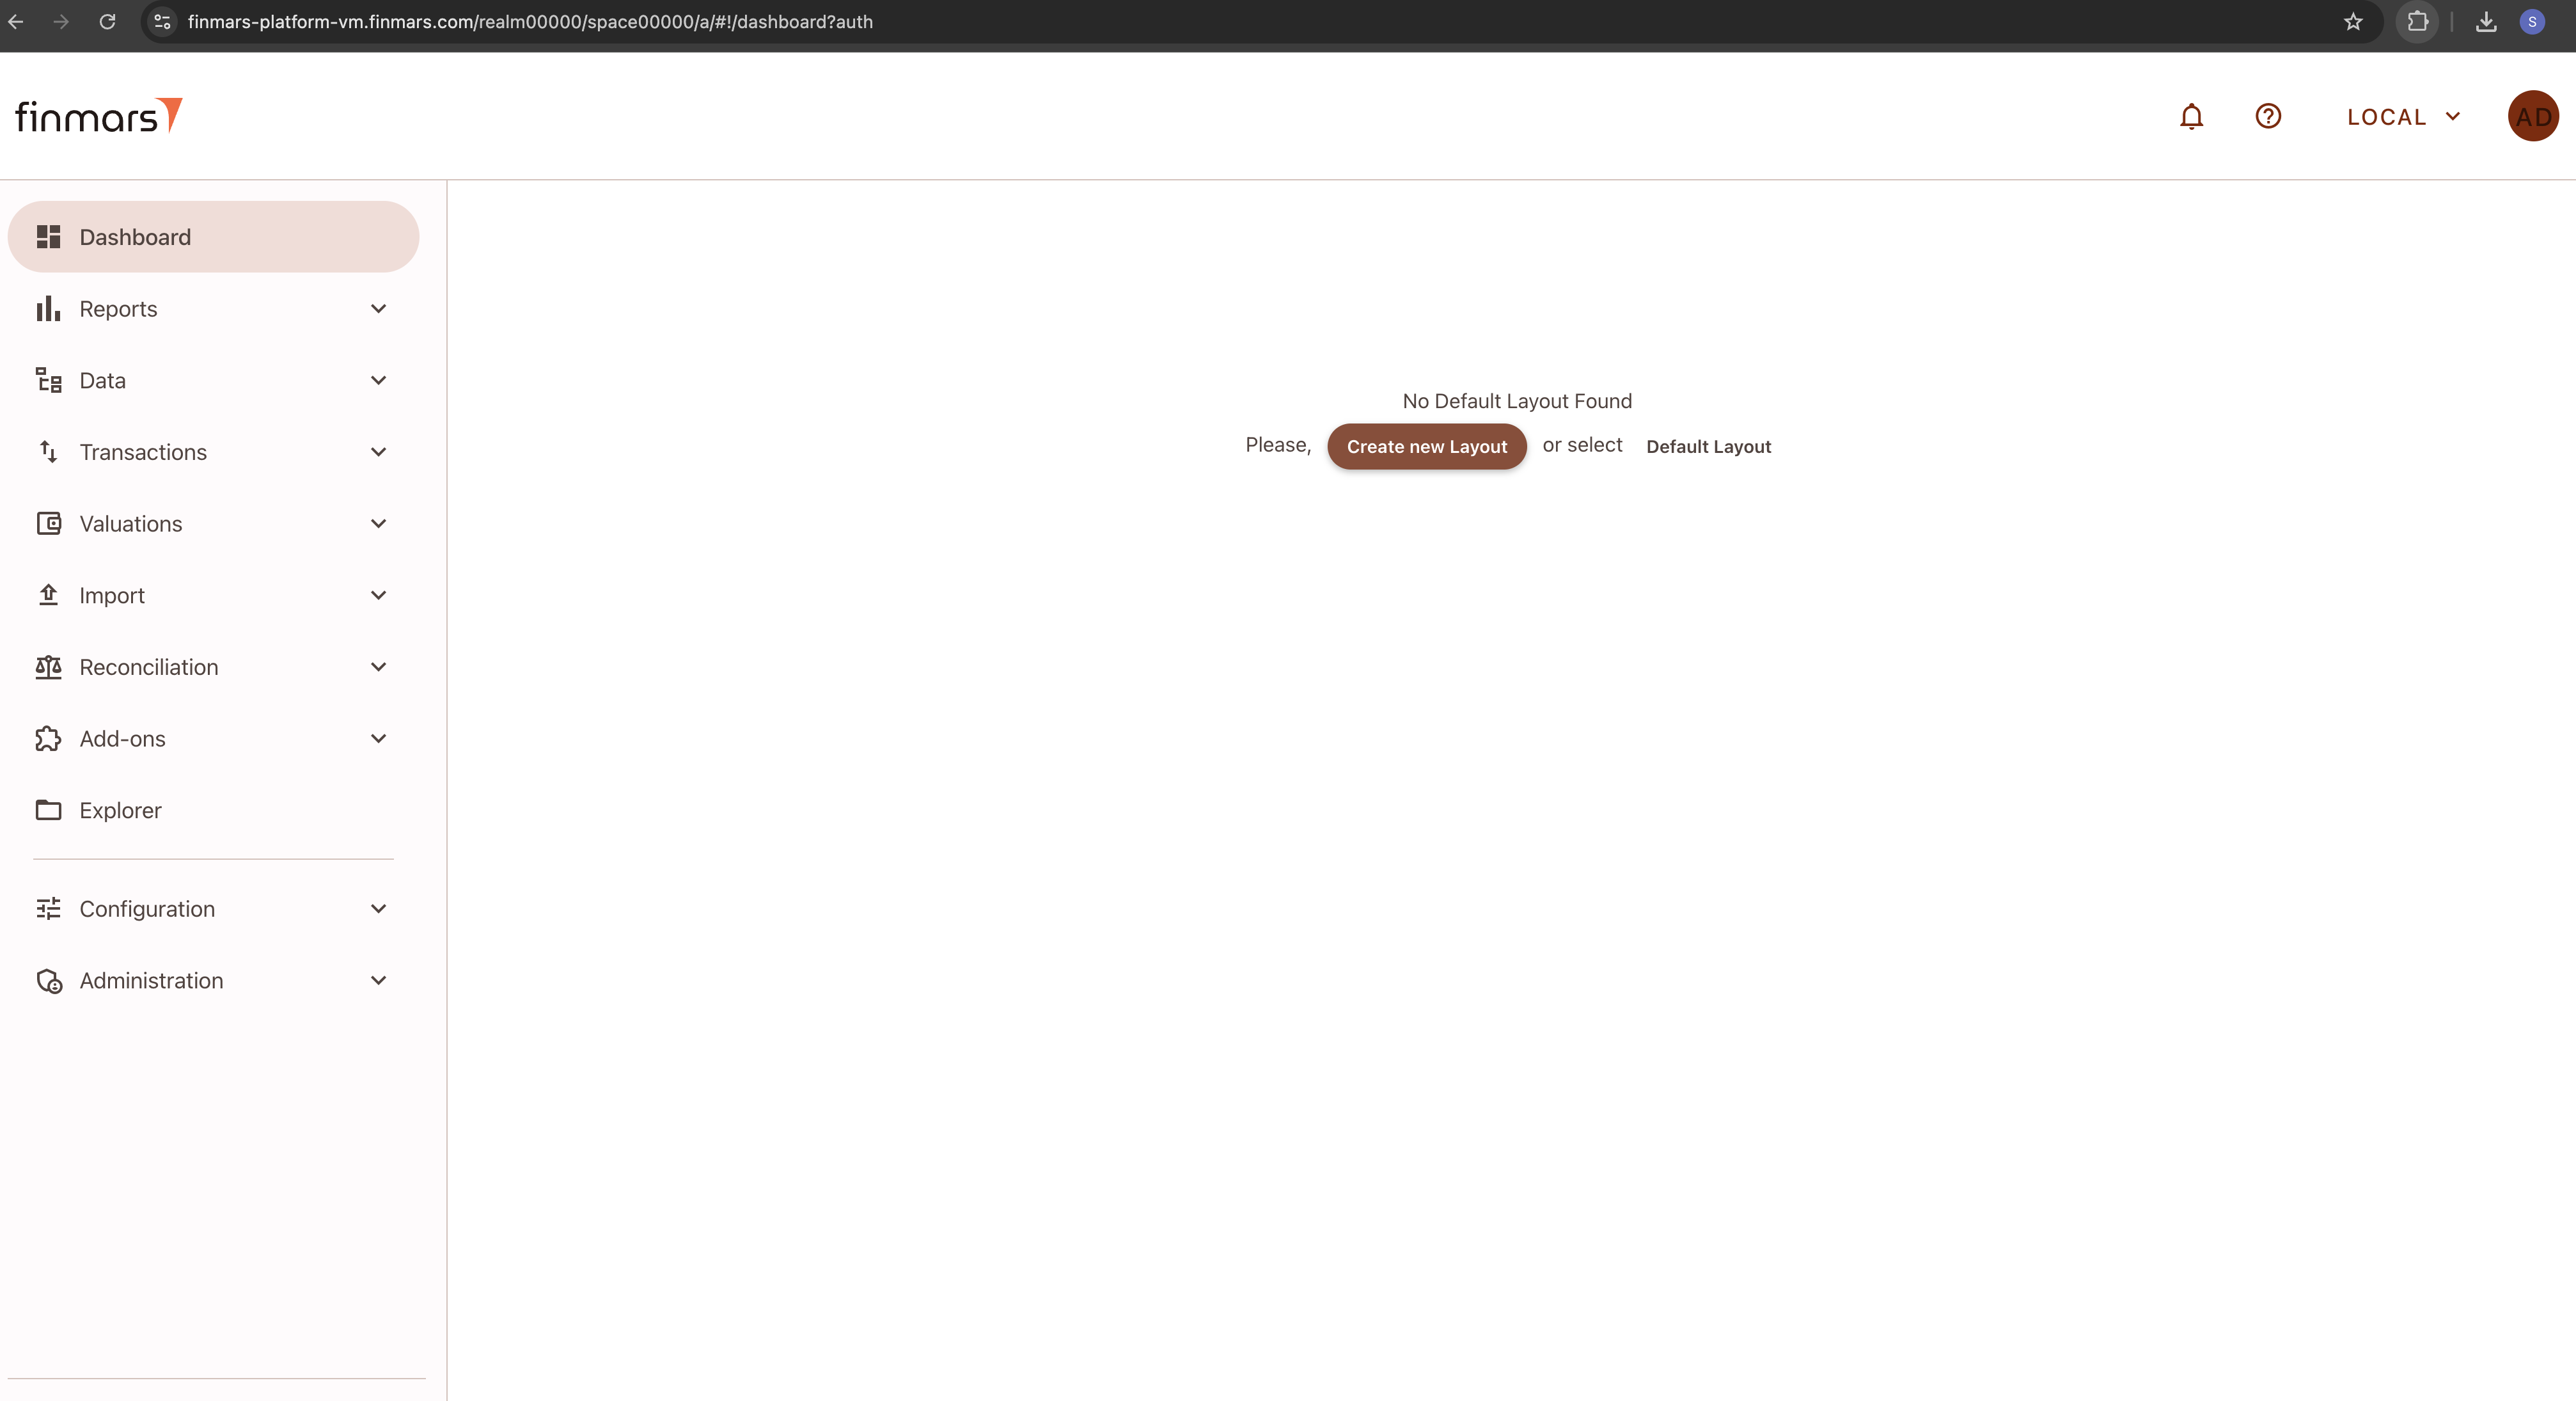
Congratulations you finished your Finmars Platform Installation Successfully! Well Done!
Get to know our User Quick Start guide for next steps
If you have some troubles during Installation - reach for any support channel:
- Create a Github Issue
- Join our Discord Server
- Contact us at support@finmars.com