# How to Backup Finmars
# Doing VM Backup in AWS
Here is guide to automate backups of your ****finmars-platform-vm****, including both its EC2 settings (AMI) and its disk (EBS volumes), all in one place:
1. ****Sign in to AWS****
- Open your browser and go to [console.aws.amazon.com](https://console.aws.amazon.com).
- Enter your AWS username and password.
2. ****Open AWS Backup****
- In the top search box, type ****Backup****.
- Click ****AWS Backup**** when it appears.
3. ****Create a new backup plan****
1. In the left menu, click ****Backup plans****.
2. Click ****Create backup plan****.
3. Choose ****Build a new plan****.
4. Give the plan a name, for example ****finmars-daily****.
5. Under ****Backup rule****, set:
- ****Frequency****: Daily
- ****Time****: 01:00
- ****Retention****: e.g. keep for 7 days
6. Click ****Create plan****.
4. ****Edit the rule to back up both EC2 and EBS****
1. Under your new plan, find the ****Backup rule**** you just made.
2. Click the three-dot menu next to it and choose ****Edit rule****.
3. Scroll to ****Resource selection****.
4. For ****Resource type****, pick ****Amazon EC2****.
- This makes AWS Backup create an AMI of your instance.
5. Click ****Add another resource type****.
6. Pick ****Amazon EBS****.
- This makes AWS Backup snapshot your volumes.
7. Click ****Update rule****.
5. ****Assign your VM and its volumes****
1. In your plan, click ****Assign resources****.
2. Give the assignment a name, like ****finmars-vm-and-volumes****.
3. Under ****Select resource IDs****, choose:
- Your ****finmars-platform-vm**** instance ID
- The IDs of its EBS volumes (usually listed under the instance)
4. Click ****Assign backup****.
6. ****Check your automated backups****
- In the left menu, click ****Backup vaults**** to see where backups are stored.
- Click ****Protected resources**** to confirm your VM and volumes are listed.
7. ****Change or stop the plan****
- To change schedule or retention, go to ****Backup plans****, select ****finmars-daily****, then edit the rule.
- To stop backups, select the plan and click ****Delete****.
---
🎉 Now AWS Backup will run every day at 01:00. It will:
- ****Create an AMI**** of your EC2 instance (so you can launch a new server with all settings intact)
- ****Snapshot your EBS volumes**** (so your data and files are safe)
# Restore VM backup in AWS
Here is guide to restore your ****finmars-platform-vm**** from an AWS Backup AMI. We skip the EBS volume step:
1. ****Sign in and open AWS Backup****
- Go to `console.aws.amazon.com` and log in.
- In the top search box, type ****Backup**** and click ****AWS Backup****.
2. ****Go to your backup vault****
- In the left menu, click ****Backup vaults****.
- Click the vault you used for ****finmars-daily**** (often ****default****).
3. ****Find the right recovery point****
- You’ll see a list of ****Recovery points**** (one per day).
- Pick the date you want to restore from.
4. ****Restore the EC2 instance (AMI)****
1. Click the recovery point whose ****Resource type**** is ****Amazon EC2****.
2. Click ****Actions → Restore****.
3. For ****Restore as****, choose ****Amazon EC2****.
4. Give the new instance a name, e.g. ****finmars-platform-vm-restored****.
5. Pick the same ****Instance type**** (t3.xlarge).
6. Choose the same ****VPC**** and ****Subnet****.
7. Enable ****Auto-assign Public IP**** if you want it.
8. Click ****Restore****.
5. ****Verify your restore****
- In ****EC2 → Instances****, you’ll see ****finmars-platform-vm-restored**** launching.
- Wait until it shows ****running**** and ****2/2 checks passed****.
- SSH into it to check your OS and settings.
🎉 You’ve now restored your server using its AMI!
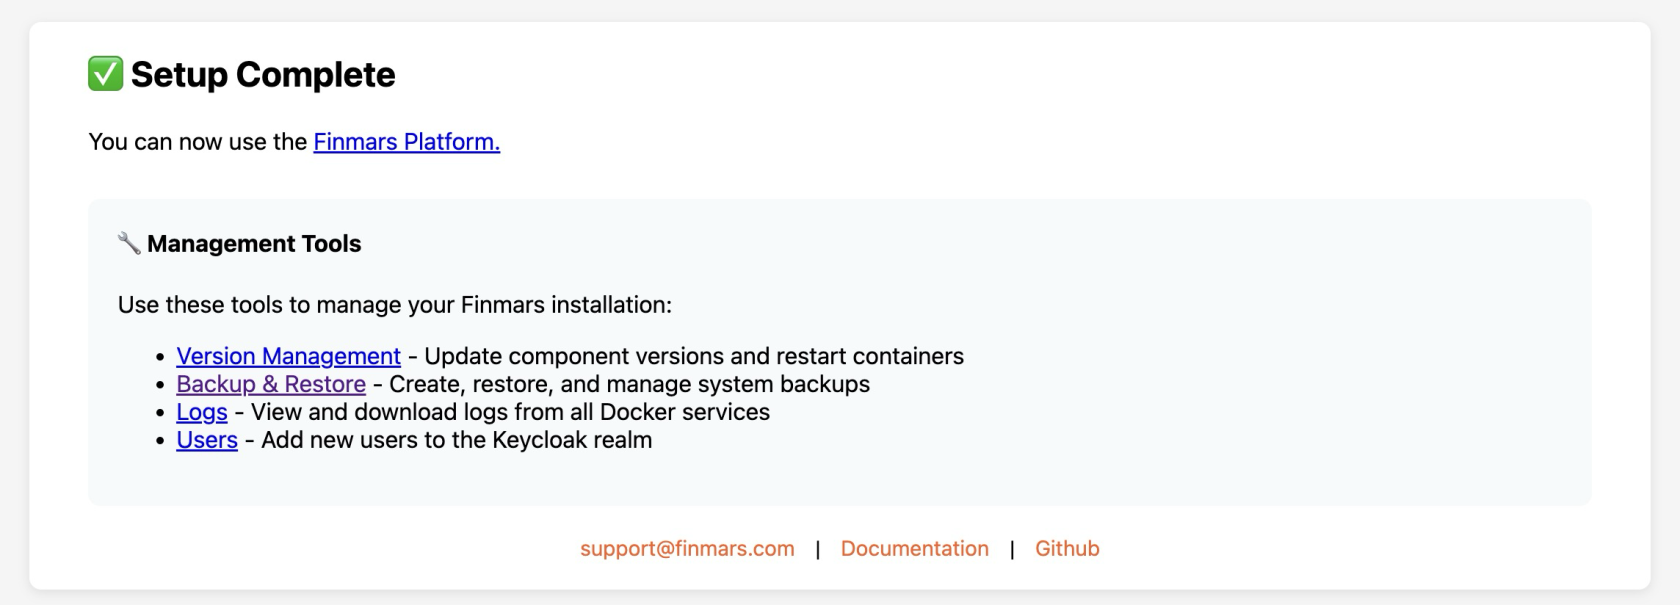
# Using the Setup web interface
We allow backup and restore through setup web interface
# Doing Backup
1. **Open Finmars Setup web interface in your Web Browser**
Go to http://**Your\_Public\_IP**:8888 (for example [http://127.0.0.1:8888](http://127.0.0.1:8888) for local instalation)
[](https://docs.finmars.com/uploads/images/gallery/2026-01/image.png)
2. **Open "Backup & Restore" page**
[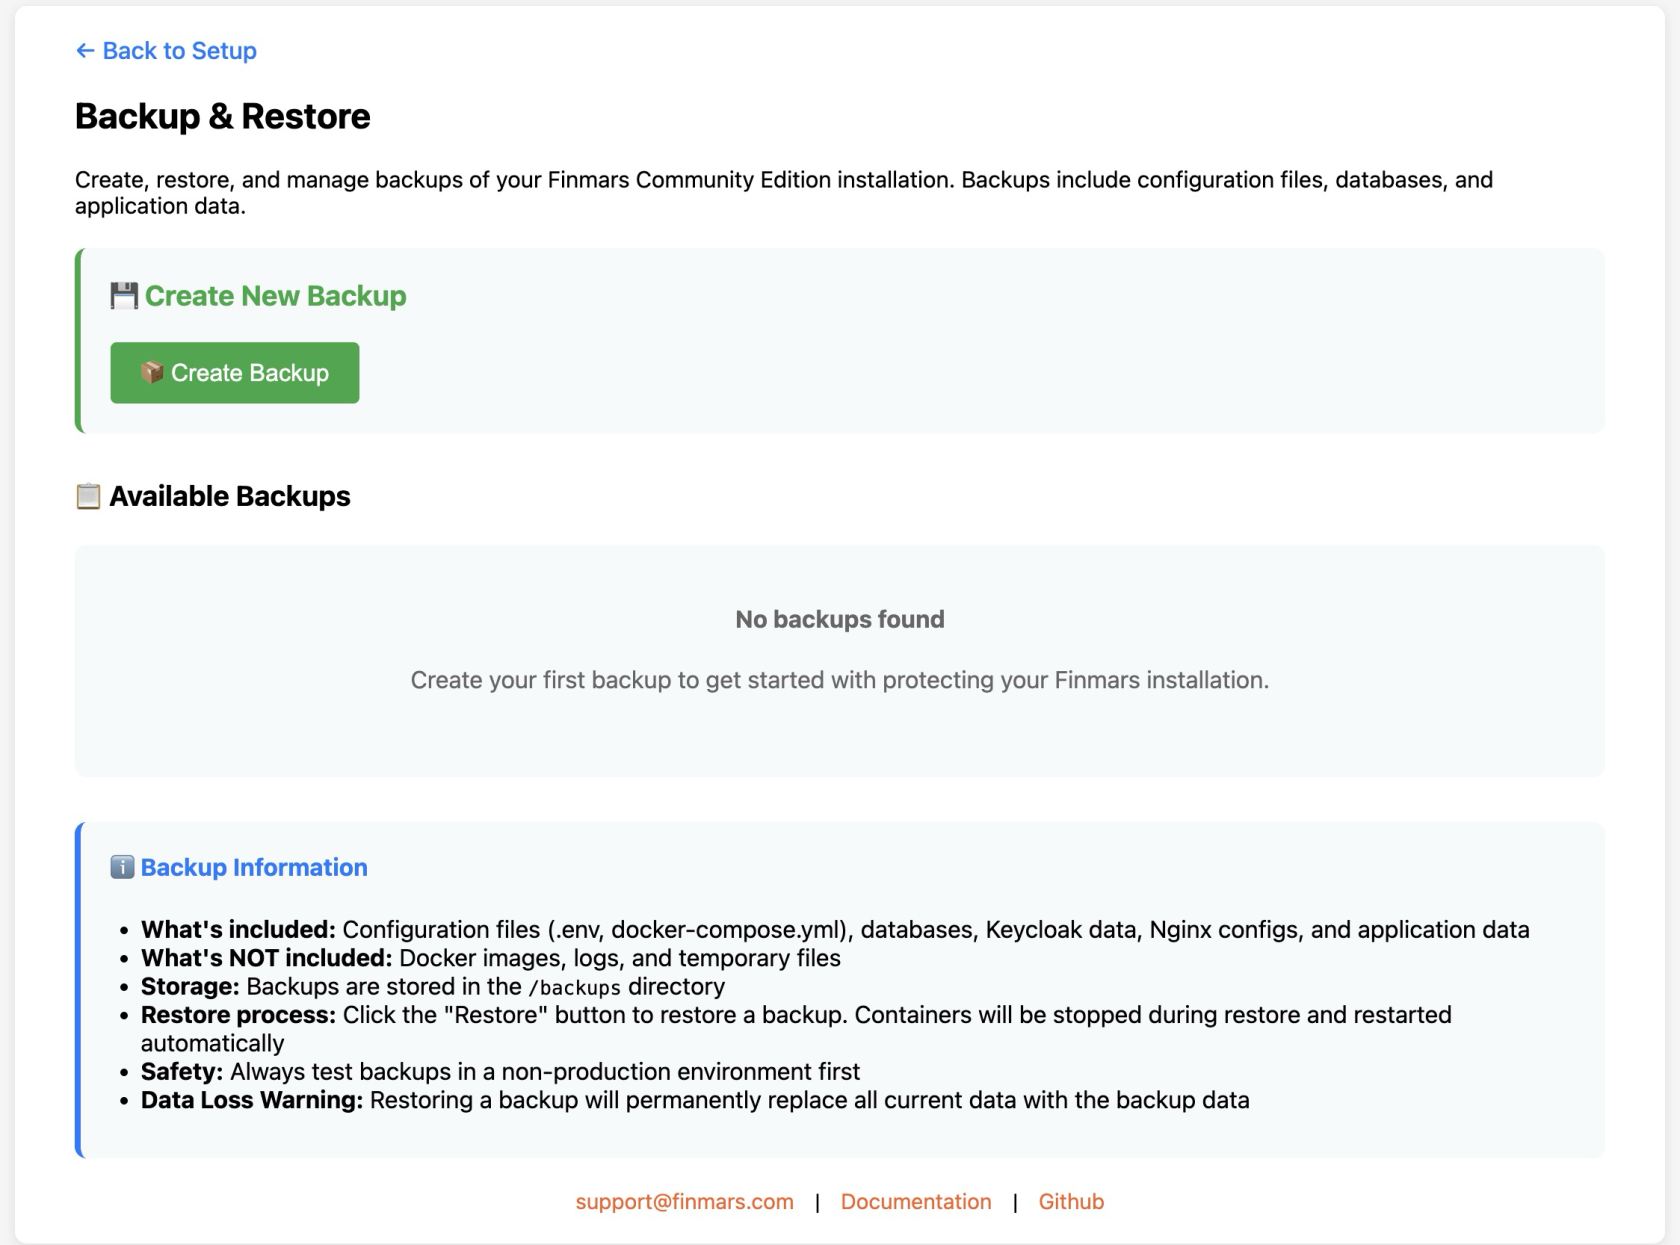](https://docs.finmars.com/uploads/images/gallery/2026-01/ft3image.png)
3. **Create Backup**
[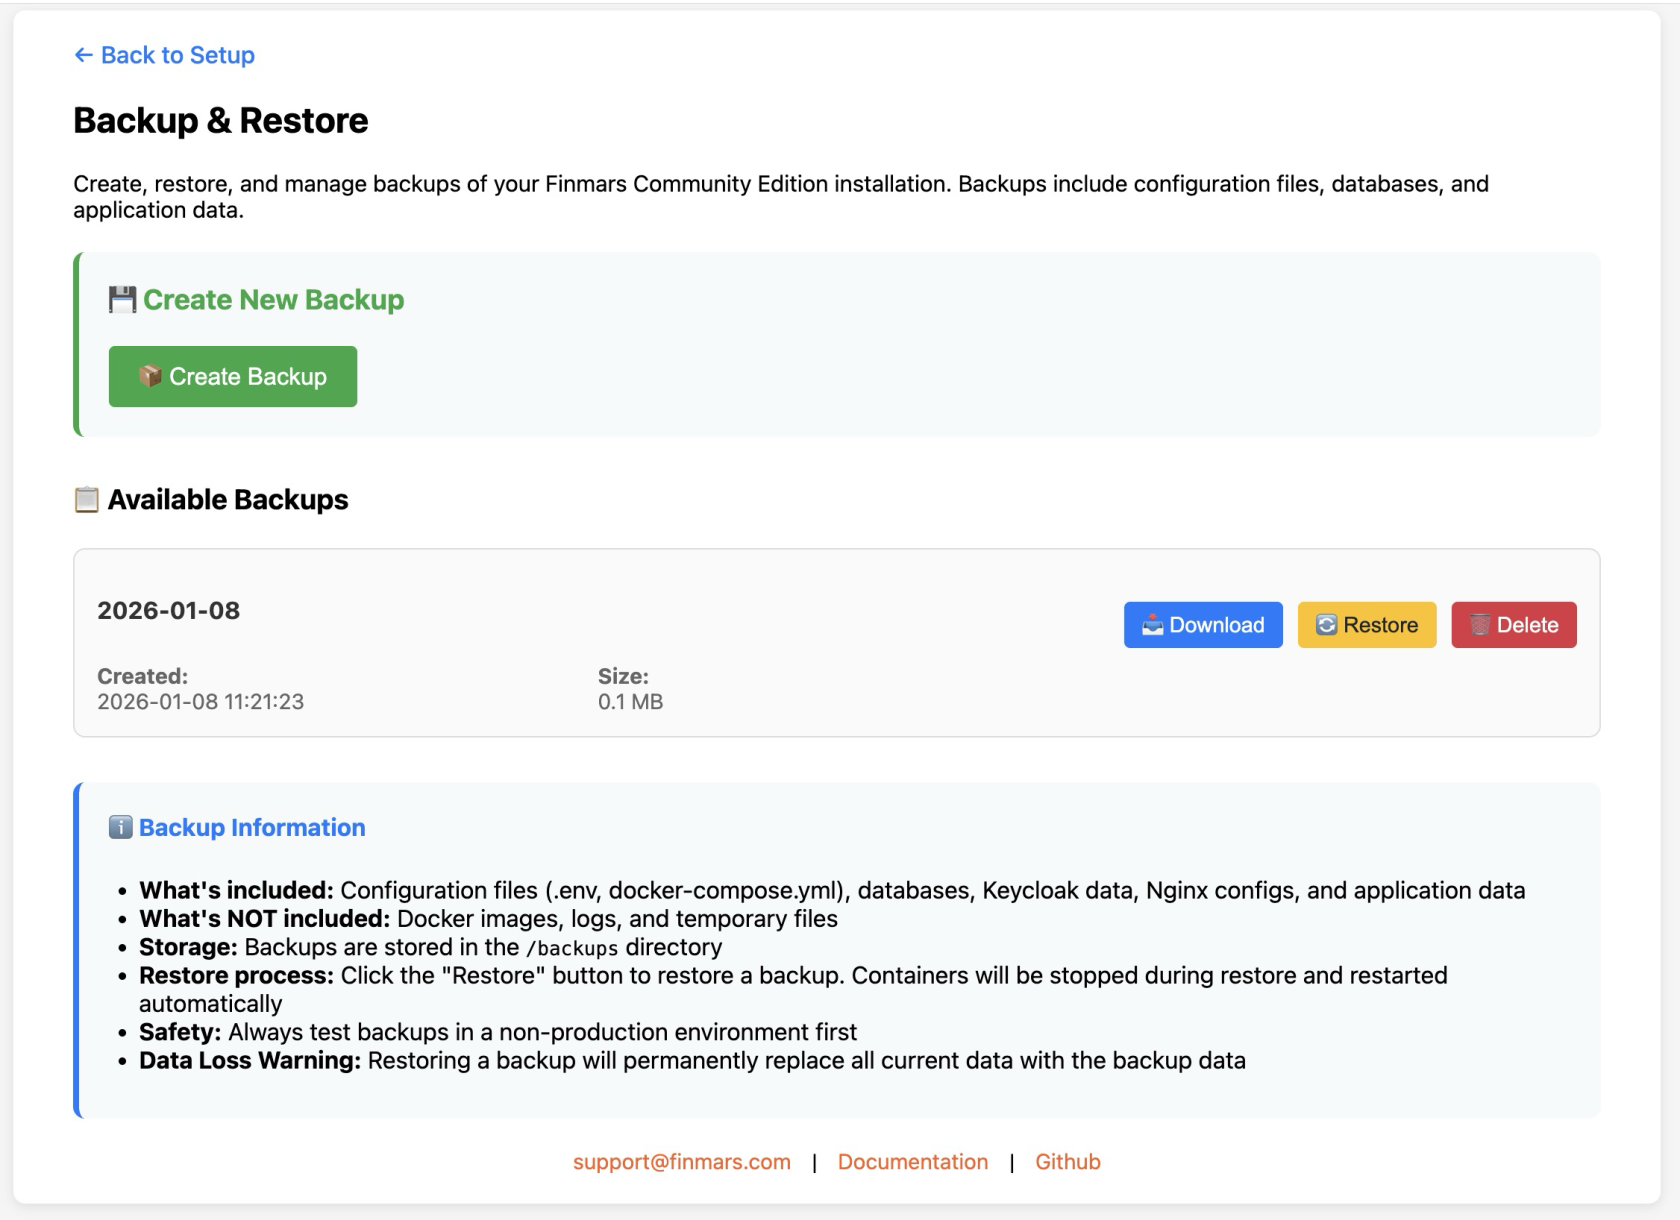](https://docs.finmars.com/uploads/images/gallery/2026-01/HKHimage.png)
# Restore Backup
1. **Open Finmars Setup web interface in your Web Browser**
Go to http://**Your\_Public\_IP**:8888 (for example [http://127.0.0.1:8888](http://127.0.0.1:8888) for local instalation)
[](https://docs.finmars.com/uploads/images/gallery/2026-01/image.png)
2. **Open "Backup & Restore" page**
[](https://docs.finmars.com/uploads/images/gallery/2026-01/POYimage.png)
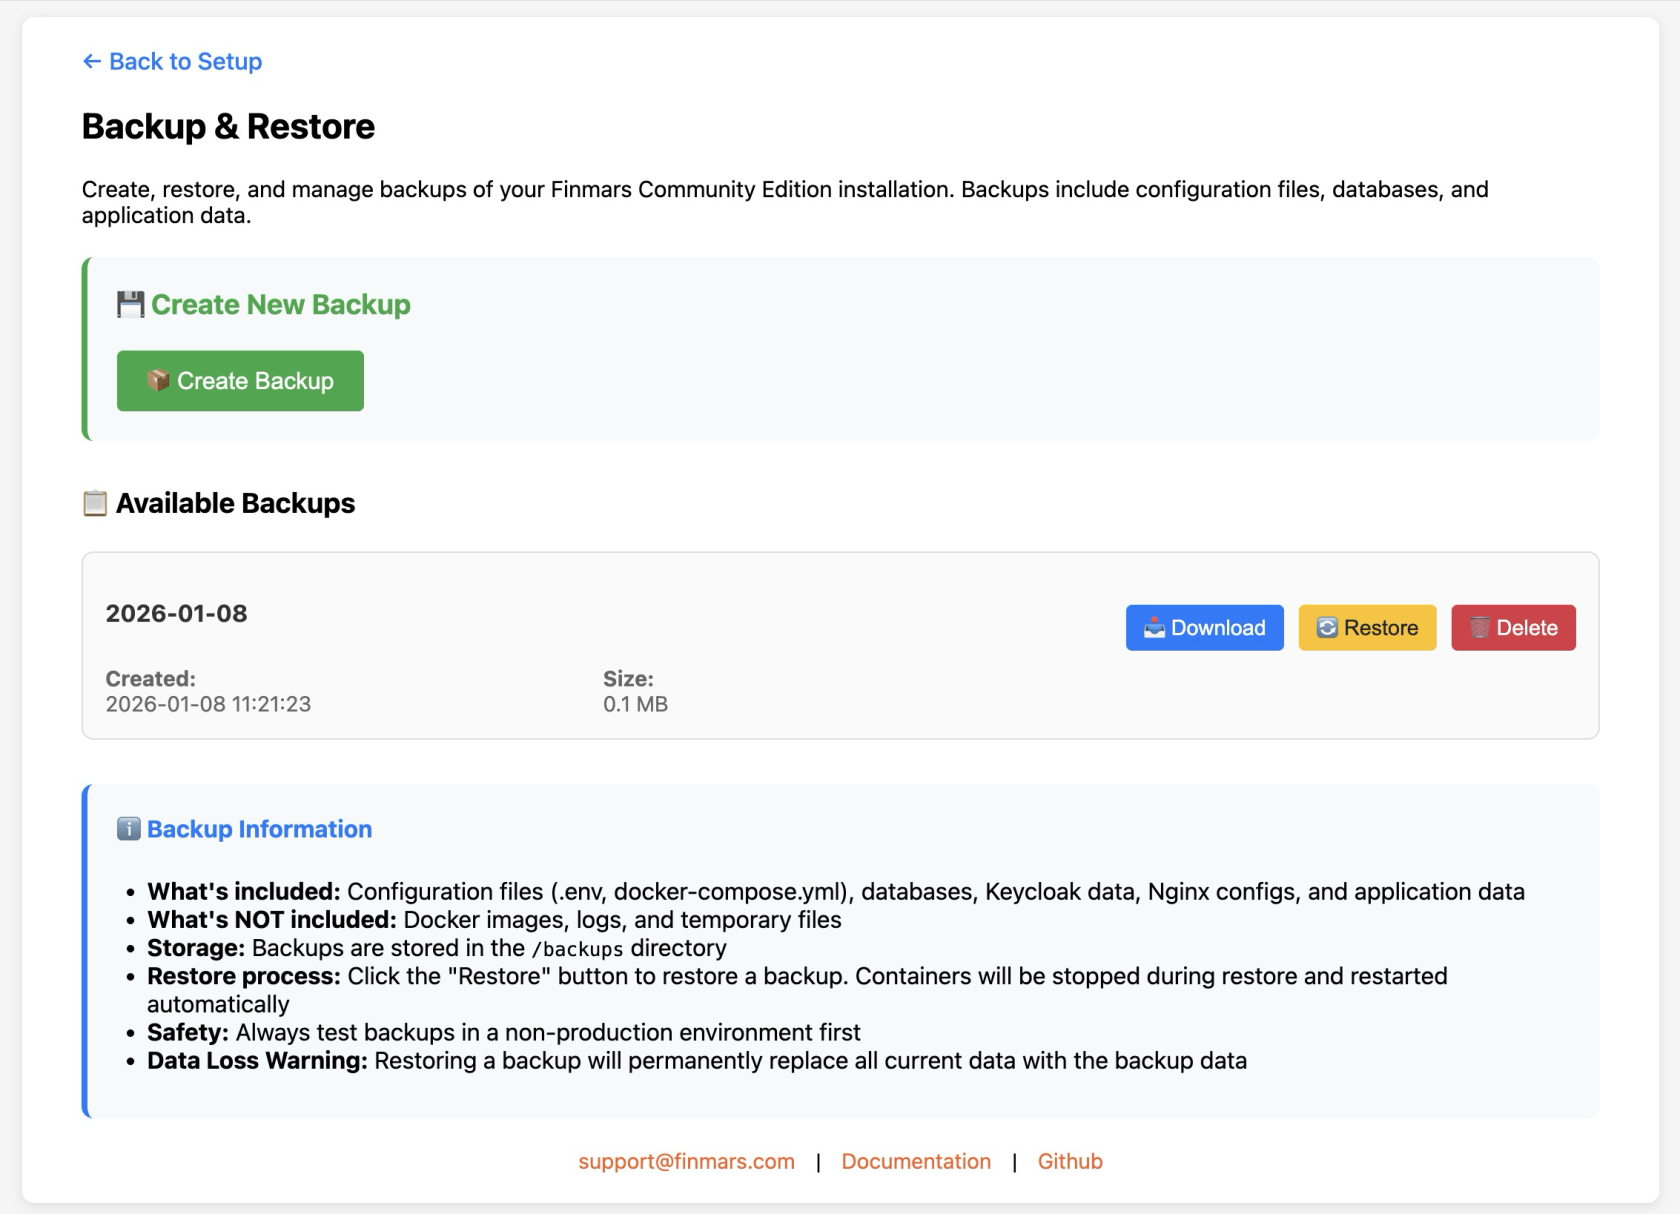
3. **Restore certain Backup**
[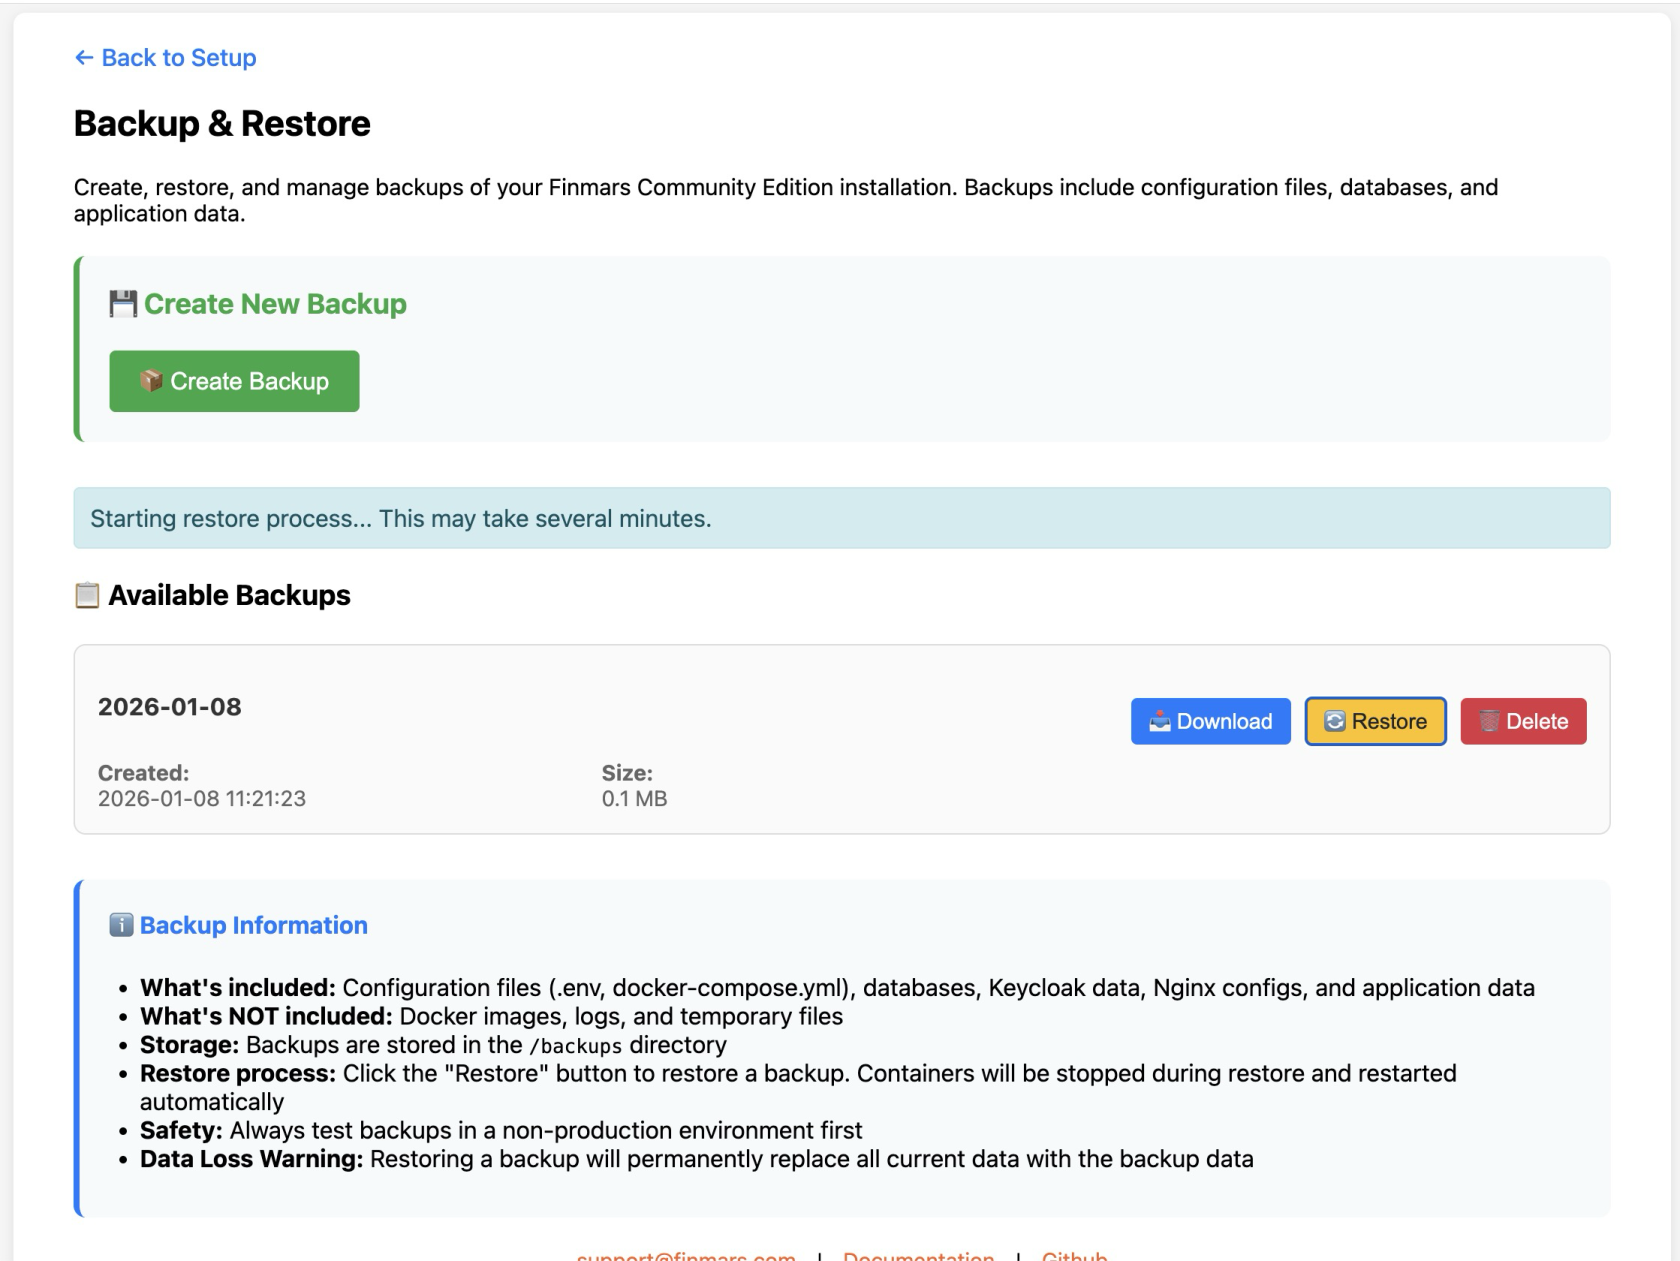](https://docs.finmars.com/uploads/images/gallery/2026-01/zavimage.png)
# Restore Backup from external file
1. **Open Finmars Setup web interface in your Web Browser**
Go to http://**Your\_Public\_IP**:8888 (for example [http://127.0.0.1:8888](http://127.0.0.1:8888) for local instalation)
[](https://docs.finmars.com/uploads/images/gallery/2026-01/image.png)
2. **Open "Backup & Restore" page**
[](https://docs.finmars.com/uploads/images/gallery/2026-01/op0image.png)
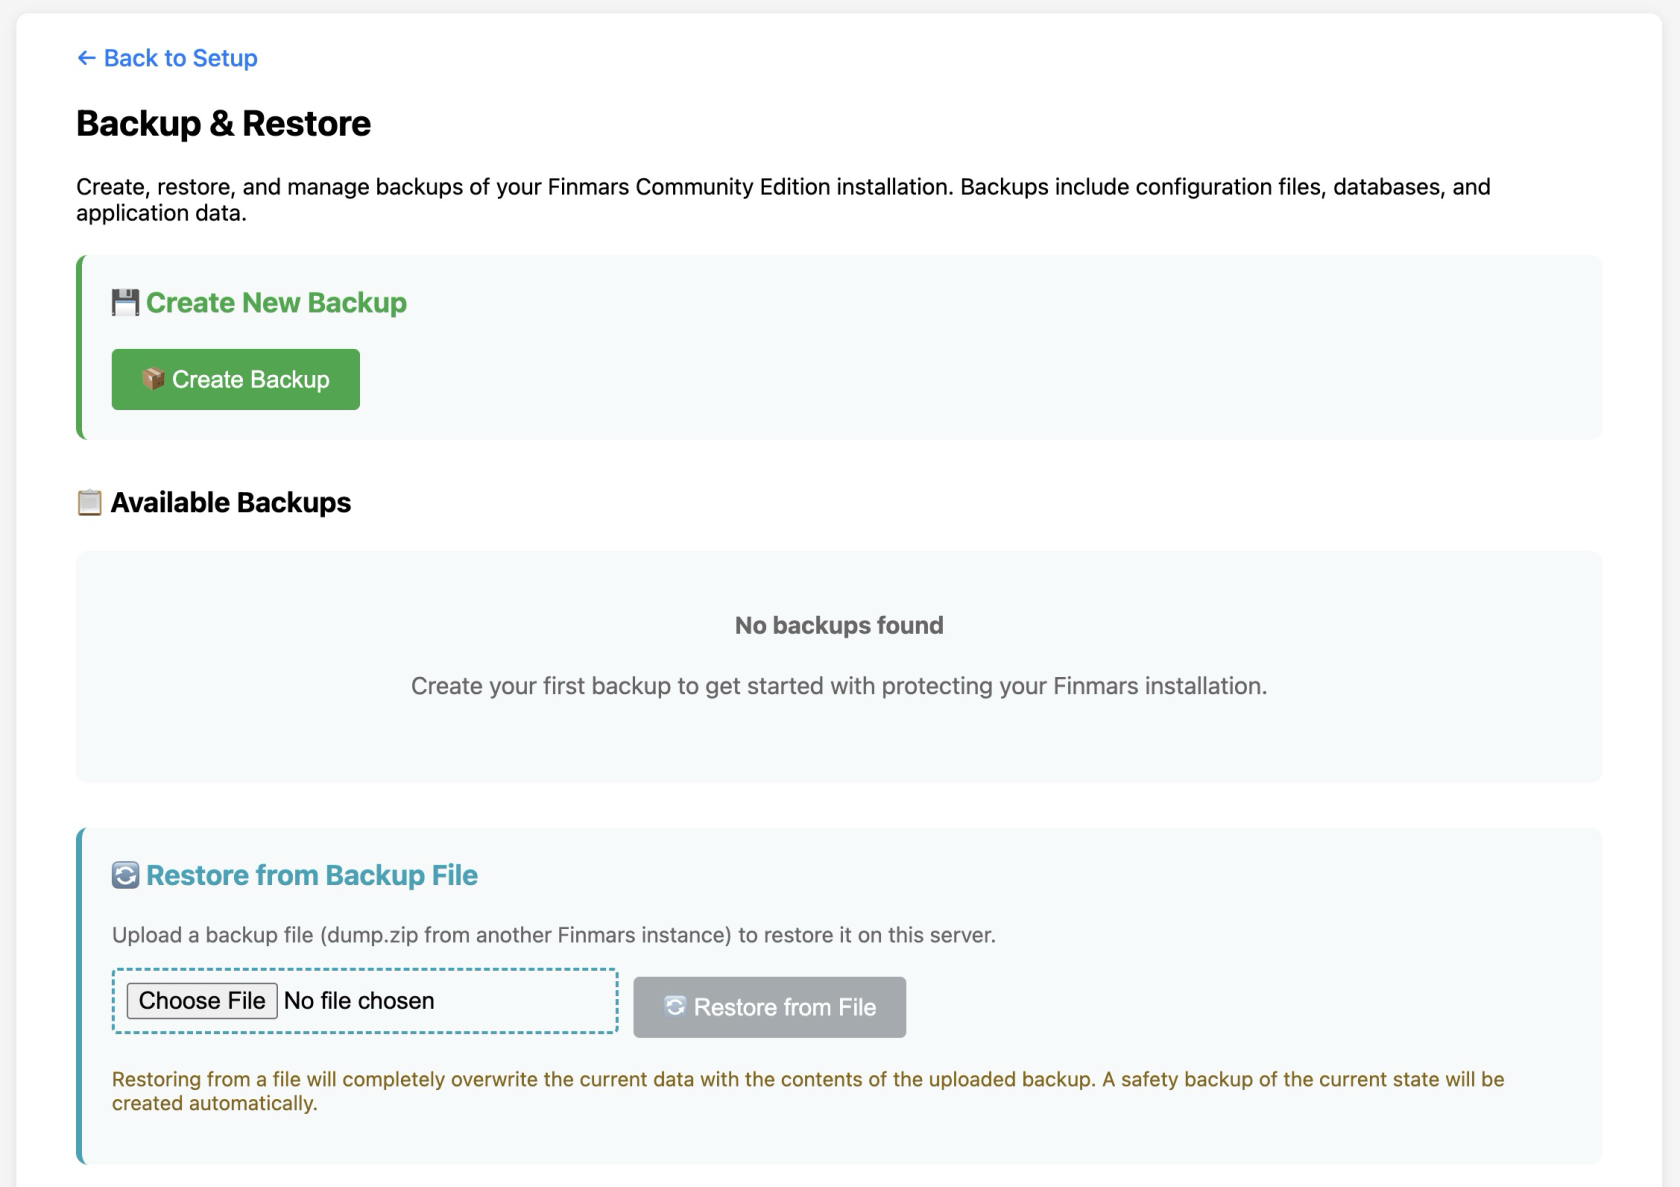
3. **Choose File for backup and Restore**
[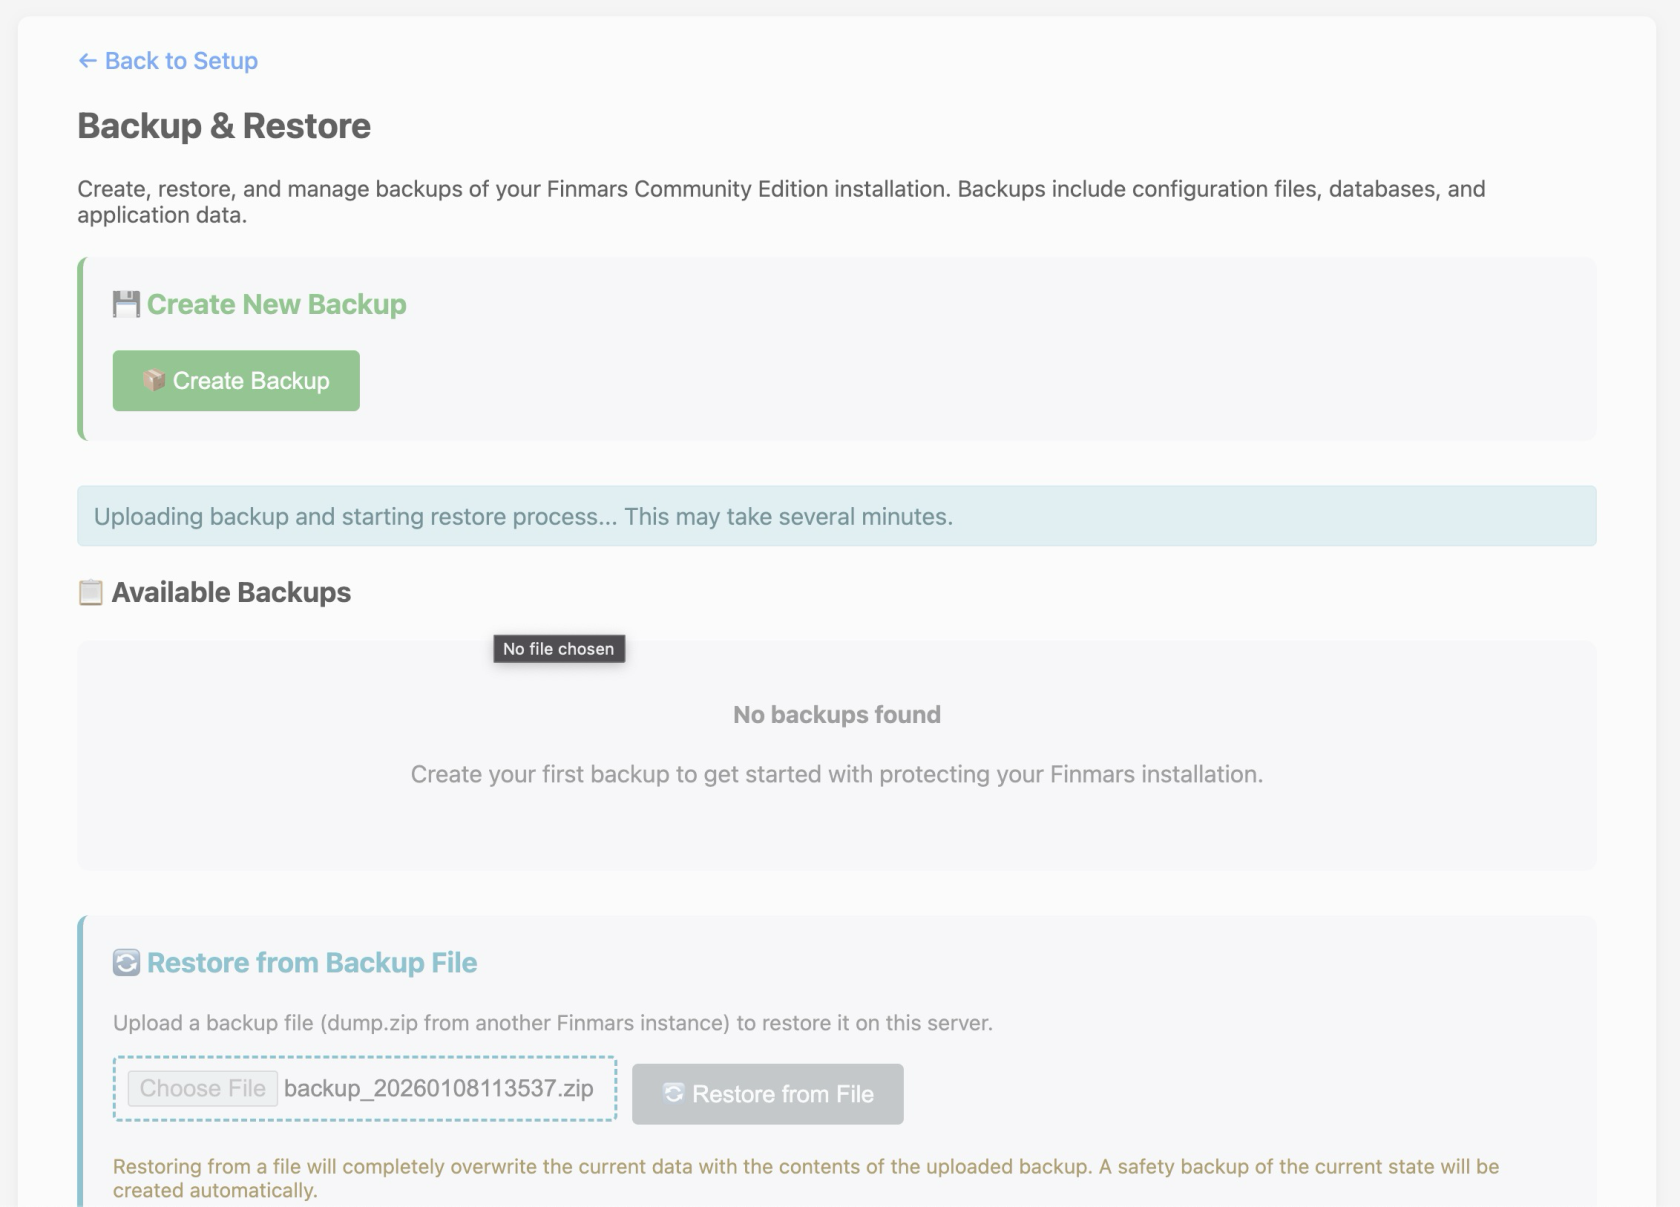](https://docs.finmars.com/uploads/images/gallery/2026-01/SCLimage.png)